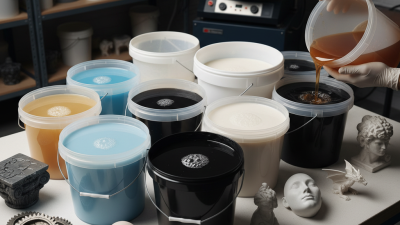
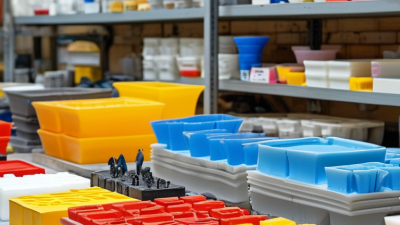
In 2026, choosing Liquid Rubber For Moulds requires more than comparing prices or advertised hardness. A reliable selection begins with the mould’s working conditions. Consider surface detail, curing time, tear resistance, flexibility, temperature exposure, and the number of planned castings. A soft silicone may capture fingerprints beautifully, while a firmer grade can support sharp corners and repeated demoulding.
Industry forecasts show why this decision matters. Grand View Research’s Liquid Silicone Rubber Market report projects strong growth through 2030, supported by rising demand in automotive, electronics, healthcare, and precision manufacturing. MarketsandMarkets also identifies silicone elastomers as a growing material category, although published market estimates vary by scope and methodology. That difference deserves attention. Not every forecast measures mould-making applications separately.
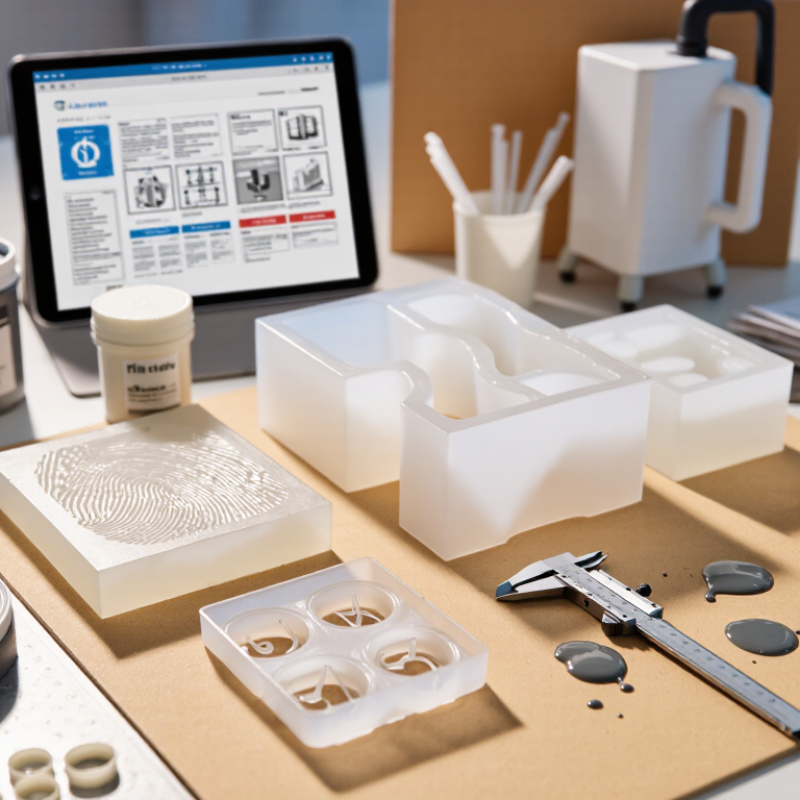
Practical testing should guide the final choice. ASTM D2240 can help verify hardness, while ASTM D412 and ASTM D624 provide useful tensile and tear-resistance benchmarks. Small trials remain essential. Pour a sample over a textured object, measure its cure time, and flex the mould around a test casting. Check for trapped bubbles, oily surfaces, and edge tearing. Details matter.
A platinum-cured silicone often suits detailed prototypes and applications requiring low shrinkage. Tin-cured systems may offer lower cost and easier processing, but their shelf life and dimensional stability need careful review. The “best” material is not universal. It depends on geometry, production volume, release chemistry, and operator experience. Even experienced users sometimes choose too soft a grade. That mistake is expensive. This guide compares the main material properties, testing criteria, and practical purchasing factors for 2026.
Choosing the Best Liquid Rubber for Moulds in 2026
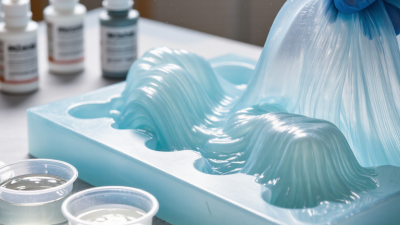
Liquid rubber is not one material. Silicone, polyurethane, and latex behave differently during mixing, curing, and demoulding. RTV silicone usually captures fine textures, such as fingerprints or fabric grain. Addition-cure silicone offers low shrinkage, often below 0.1%, according to technical data summarized by ASTM-based suppliers. Condensation-cure silicone costs less, but it may shrink more over time. That difference matters when reproducing precise engineering parts.
Polyurethane rubber suits durable moulds and repeated casting. It often provides higher abrasion resistance than silicone, but moisture can create bubbles during curing. MarketsandMarkets reported continued growth in the global polyurethane market, with demand supported by construction, automotive, and industrial applications. This trend signals broader manufacturing confidence, not automatic suitability for every mould. Check viscosity, Shore hardness, tear strength, and working time before purchase.
Silicone remains popular for complex decorative moulds. Grand View Research estimated the global silicone market at more than 18 billion US dollars in 2023, with strong growth projected through 2030. Market size does not replace testing. My first mistake was choosing a soft rubber for sharp undercuts. The mould stretched beautifully, then distorted after several casts. A small test mould exposed that weakness. Latex can work for thin, flexible skins, but it may require many coats and longer drying periods. Always test the rubber against the pattern, release agent, pigment, and casting temperature. No type wins every test.
Understanding Liquid Rubber Types for Mould Making in 2026
The chart compares typical Shore A hardness ranges used in mould-making applications. Softer silicone and latex rubbers are suitable for flexible moulds and detailed parts, while polyurethane generally provides higher hardness and better resistance for durable production moulds. Actual values vary according to formulation, curing conditions, and filler content.
Choosing liquid rubber starts with the mould, not the product label. Measure the master’s size, texture, undercuts, and expected production count. Deep undercuts need flexible rubber with strong tear resistance. Fine textures need low viscosity and careful bubble control. Hardness also matters. Soft rubber releases complex shapes, while firmer rubber supports larger flat panels. Silicone and polyurethane systems can behave differently on the same surface. Consider cure speed, shrinkage, and working time. A ten-minute cure may sound efficient. It can become stressful around detailed surfaces.
Material compatibility deserves a small test. Some modelling clays, coatings, woods, and resins can inhibit curing or stain the mould. Moisture can create bubbles or weak areas, especially with moisture-sensitive rubber. Apply a thin sample to an unseen section, then wait through the full cure period. Check tackiness, discoloration, flexibility, and surface detail. Do not trust appearance alone. A rubber skin may feel cured while its center remains soft.
For repeat casting, compare tear strength, abrasion resistance, demoulding behavior, and dimensional stability. Record the mixing ratio, room temperature, humidity, and working time. Small changes matter. Clean tools and accurate scales improve reliability. Ventilation and suitable protective equipment remain essential during mixing and curing. Technical sheets guide decisions, but real substrates can behave differently. That uncertainty is easy to underestimate. A failed test is frustrating, yet it often reveals the requirement that was missing.
Choosing liquid rubber for moulds requires more than checking hardness. The critical factors are viscosity, cure shrinkage, tear strength, elongation, and temperature resistance. ASTM D2240 measures Shore hardness, while ASTM D412 evaluates tensile strength and elongation. For detailed moulds, a Shore A range of 20–40 often balances flexibility with shape retention.
Tear resistance deserves close attention. ASTM D624 testing helps compare how easily a cured mould splits around thin edges or sharp corners. A practical target is often above 15 kN/m, although the correct value depends on the pattern geometry. ISO 815-1 also measures compression set, which matters when moulds remain under pressure. Lower permanent deformation usually supports longer service life.
Viscosity controls detail capture and trapped air. Low-viscosity rubber can flow around textures, but it may drain from vertical surfaces. Working time matters too. A ten-minute pot life feels generous until a large mould starts curing. I usually test a small sample first. That step exposes bubbles, incomplete curing, and unexpected shrinkage. The 2024 Grand View Research market analysis highlights expanding industrial demand for silicone elastomers, yet market growth does not guarantee equal performance between formulations. Laboratory values can also differ from workshop results. Read the technical data sheet, then verify it under your own temperature, mixing, and release conditions.
The best liquid rubber depends on the mould’s geometry, material, and working temperature. Do not choose by hardness alone. A detailed formula review should include viscosity, cure time, shrinkage, tear strength, and release behavior. For sharp textures, low-viscosity addition-cure silicone usually captures fine details cleanly. For larger moulds, a slower formula can reduce trapped air and rushed handling.
A 2024 Grand View Research report estimates the liquid silicone rubber market will grow above 8% annually through 2030. That growth reflects wider demand for durable, flexible moulding materials. Still, market growth does not prove suitability for your project. For rigid master patterns, polyurethane rubber may offer better abrasion resistance. MarketsandMarkets reports that the global polyurethane market could reach over 100 billion dollars by 2028, showing its expanding industrial role.
Test before production. Make a small sample with the actual pattern material. Some clays, coatings, and sulphur-based surfaces can inhibit silicone curing. I learned this the inconvenient way. The surface looked perfect, but the rubber stayed tacky around the details. Check the technical data sheet, then verify the result physically. Shore A hardness around 20 can suit flexible relief moulds, while harder grades may support repeated casting. These figures are starting points, not guarantees. A formula that works beautifully in a clean workshop may fail beside heat, dust, or humidity. Practical testing remains essential.
Choosing the best liquid rubber for moulds in 2026 starts with controlled testing, not attractive product claims. A 2024 Grand View Research report estimated the global liquid silicone rubber market at about US$2.9 billion in 2023, with strong growth projected through 2030. That growth increases material choices, but it does not remove testing responsibility. Compare hardness, tensile strength, tear resistance, shrinkage, and working time. ASTM D2240, D412, and D624 provide useful reference methods. Test a small sample first.
Measure by mass. Keep notes.
Mix the two components slowly and scrape the container walls. High-speed mixing can trap fine bubbles. Vacuum degassing improves surface detail, although thin moulds may not need it. Follow the supplier’s stated ratio exactly. A small ratio error can leave a tacky surface. Record temperature and humidity, because both can change pot life and curing speed. Cure time should be confirmed by a practical fingernail test and a complete demoulding trial.
Maintenance affects mould life more than many users expect. Clean residue with a compatible mild cleaner, then dry the mould completely. Avoid sharp tools, excessive release agent, ultraviolet exposure, and prolonged heat. Store moulds flat, supported, and away from ozone sources. Inspect edges after every casting cycle. A small tear is easy to miss. I once treated a flexible mould as indestructible; repeated stretching proved that assumption wrong. For critical parts, repeat dimensional checks after ten, twenty, and fifty cycles, and revise the material choice when shrinkage or surface defects begin.
| Decision or Process Factor | What to Check | Typical Data or Target Range | Why It Matters | Recommended Practice |
|---|---|---|---|---|
| Mould material selection | Choose between condensation-cure silicone, addition-cure silicone, and polyurethane rubber. | Silicone: excellent release and flexibility; polyurethane: high abrasion resistance; condensation-cure systems: generally more tolerant of some contaminants. | The rubber family determines durability, detail reproduction, cure sensitivity, and suitable casting materials. | Use silicone for complex details and repeated casting; use polyurethane where abrasion and tear resistance are the main priorities. |
| Shore A hardness | Measure or confirm cured hardness with a Shore A durometer. | Soft moulds: Shore A 10–20; general-purpose moulds: Shore A 20–처? 40; rigid-support applications: Shore A 40–60. | Lower hardness improves demoulding around undercuts, while higher hardness improves dimensional support and edge stability. | Select the lowest hardness that still supports the mould geometry and casting weight. |
| Viscosity | Review mixed viscosity and the ability to flow into fine details. | Low-viscosity systems are commonly about 500–5,000 mPa·s; higher-viscosity systems may exceed 10,000 mPa·s. | Lower viscosity generally improves detail capture and reduces trapped air, but may require a thicker mould wall or support shell. | Use a low-viscosity material for intricate patterns; use a thixotropic material for vertical or overhead surfaces. |
| Mixing ratio | Verify the specified weight or volume ratio for Part A and Part B. | Common two-part systems use 1:1 by weight or volume; other systems may use ratios such as 10:1 or 100:3 by weight. | An incorrect ratio can cause soft spots, incomplete cure, brittleness, excessive shrinkage, or surface tack. | Use a calibrated scale unless the product is specifically designed for equal-volume dispensing. |
| Mixing method | Check color uniformity, scraped container walls, and the presence of unmixed material. | Mix slowly for approximately 2–4 minutes, or according to the material’s stated working time. | Insufficient mixing creates localized cure defects; excessive high-speed mixing introduces unnecessary air. | Scrape the sides and bottom of the container while mixing, then transfer to a clean container and mix again when practical. |
| Working time | Measure the time available for mixing, degassing, and pouring at the actual workshop temperature. | Typical room-temperature working times range from about 5 to 60 minutes. | A short working time speeds production but increases the risk of rushed pouring and trapped air. | Prepare the mould, release agent, tools, and vacuum equipment before combining the components. |
| Degassing | Inspect the cured mould for bubbles, pinholes, and voids around fine details. | Vacuum degassing commonly uses approximately −0.8 to −0.95 bar gauge, provided the container has sufficient expansion volume. | Removing entrained air improves surface quality, edge strength, and dimensional accuracy. | Allow the mixture to rise and collapse under vacuum, then pour in a thin stream from the lowest point of the pattern. |
| Pouring technique | Check complete filling of undercuts, corners, vents, and the highest points of the mould. | A continuous narrow stream and a fill point at the lowest area generally reduce air entrapment. | Poor flow planning can create air pockets even when the material was mixed correctly. | Tilt or vibrate the mould gently; avoid aggressive vibration that can separate the pattern or distort thin walls. |
| Curing time | Confirm that the mould is firm, non-tacky, and dimensionally stable before demoulding. | Initial cure commonly ranges from about 1 to 24 hours at 20–25°C, depending on chemistry and section thickness. | Premature demoulding can permanently deform thin walls, sharp edges, and undercuts. | Follow the stated cure schedule and allow additional time for thick sections or cool, dry conditions. |
| Temperature and humidity | Record room temperature and relative humidity during mixing and curing. | A controlled work area of approximately 20–25°C and moderate humidity is generally suitable; moisture-sensitive polyurethane requires especially dry conditions. | Higher temperature usually shortens working time, while low temperature slows curing. Moisture may cause foaming in sensitive systems. | Condition components and patterns to the same room temperature before mixing. |
| Dimensional shrinkage | Compare a cured mould or test plaque with the original pattern dimensions. | Many silicone mould materials show approximately 0.1–0.5% linear shrinkage; polyurethane values vary by formulation and cure conditions. | Shrinkage affects tight-fitting parts, registration, and multi-part mould alignment. | Measure the actual cured system when dimensional accuracy is critical rather than relying only on a general specification. |
| Mechanical durability | Review tear strength, tensile strength, elongation, and abrasion resistance. | Typical cured silicone moulds may have tensile strength around 3–8 MPa and elongation around 200–700%; values vary significantly by formulation. | Higher tear strength and elongation help the mould survive repeated demoulding around undercuts. | Use test coupons or sample moulds to compare performance when the geometry is thin, deep, or highly detailed. |
| Compatibility and inhibition testing | Test the rubber against the pattern, release agent, pigment, clay, paint, and casting resin. | A small test area should cure fully without tackiness, discoloration, swelling, or loss of detail. | Sulfur, amines, tin compounds, moisture, and some coatings can inhibit or interfere with curing. | Conduct a 24-hour compatibility test before producing the final mould. |
| Release and demoulding | Check whether the cured rubber separates without tearing, sticking, or damaging the pattern. | Flexible silicone often releases easily; polyurethane and porous patterns may require a compatible release agent. | Incorrect release products can cause surface defects, inhibition, or permanent adhesion. | Apply a thin, even coat only after confirming compatibility, and open the mould gradually from the deepest undercuts. |
| Cleaning after use | Inspect for casting residue, pigment transfer, dust, and tears. | Use a soft brush, lint-free cloth, mild soap solution, and clean water when compatible with the cured rubber. | Abrasive tools and aggressive solvents can roughen, swell, or weaken the mould surface. | Dry completely before storage and avoid scraping fine details with hard tools. |
| Storage and maintenance | Monitor deformation, surface tack, cracking, dust accumulation, and loss of elasticity. | Store clean moulds flat or on a supported form in a cool, dry, dark location, commonly around 15–25°C. | Heat, ultraviolet light, ozone, compression, and contact with incompatible materials can shorten service life. | Support thin sections, avoid long-term folding, and keep moulds away from direct sunlight and heat sources. |
| Quality-control checklist | Record batch, ratio, temperature, humidity, mixing time, working time, cure time, and defects. | Accept only moulds that are fully cured, bubble-free in critical areas, dimensionally stable, and free from tacky surfaces. | Consistent records make it easier to identify process drift and repeat successful moulds. | Keep a simple production log and retain a small cured test sample from each important batch. |
Note: The numerical values are typical industry ranges for generic liquid rubber systems. Always verify the current technical data sheet and safety instructions for the specific formulation being used.